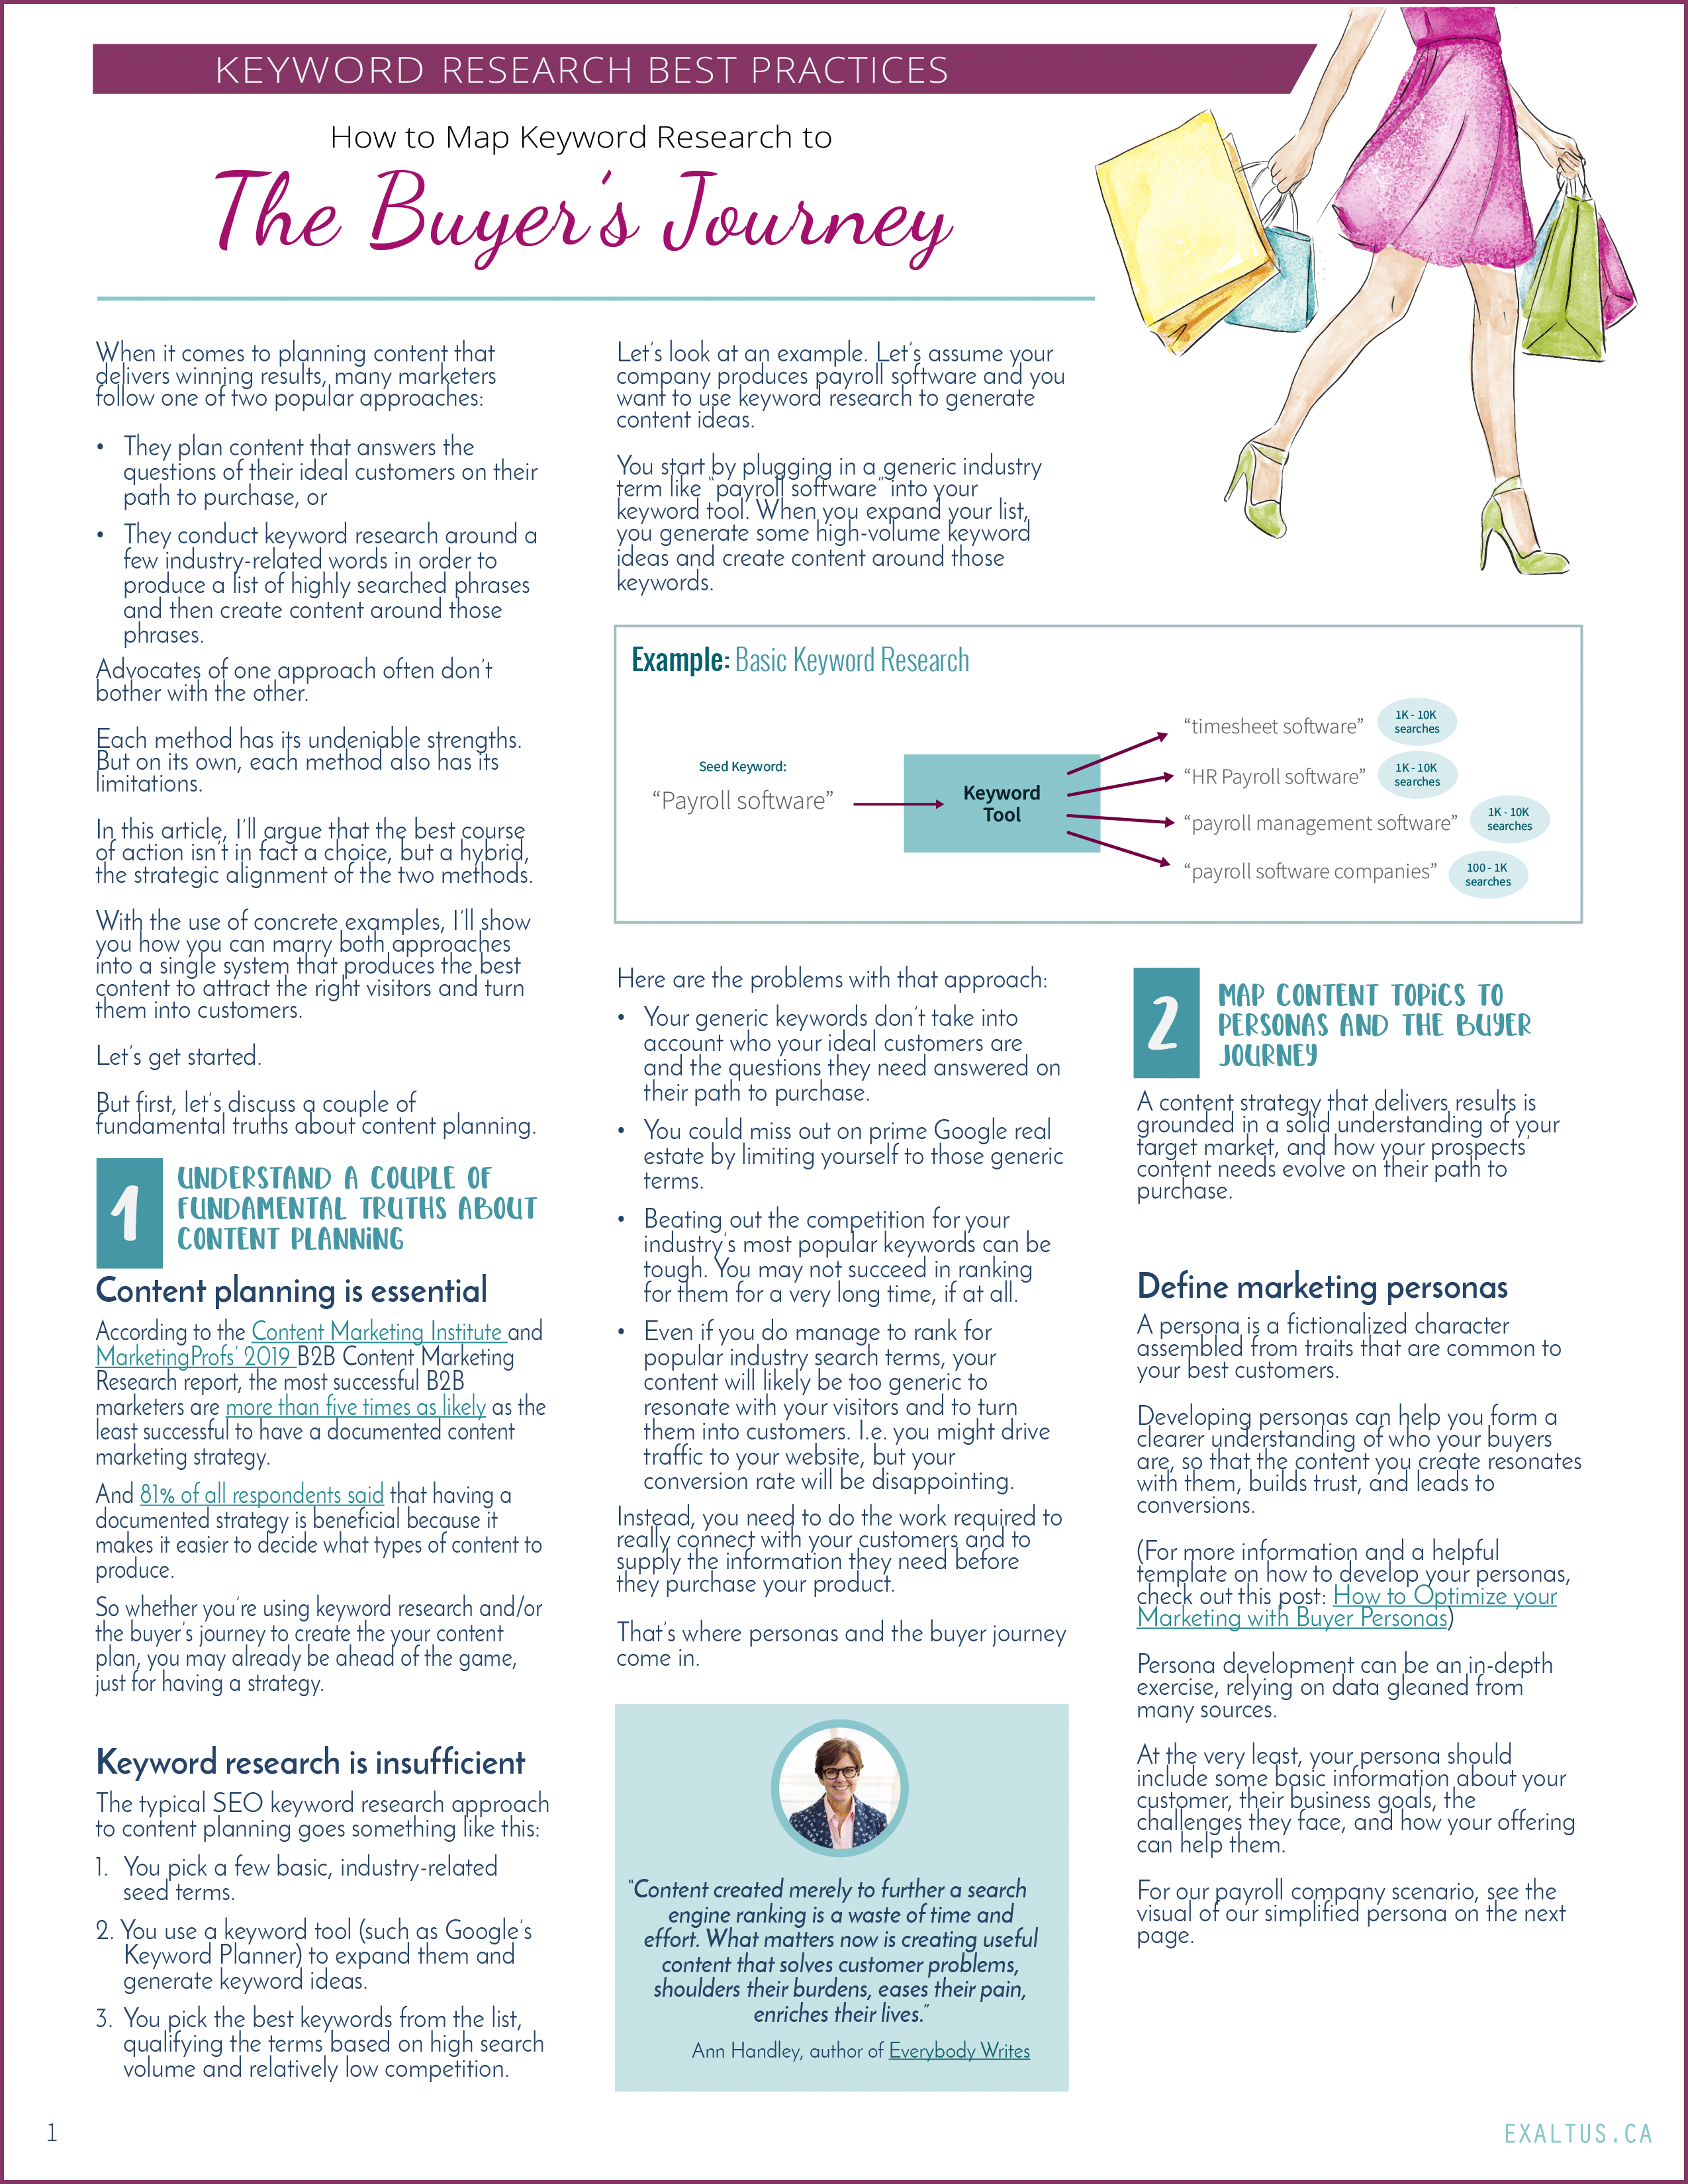
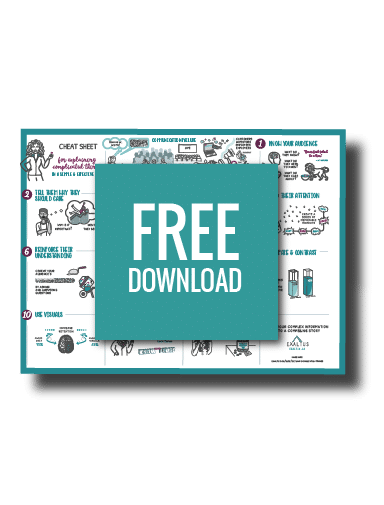
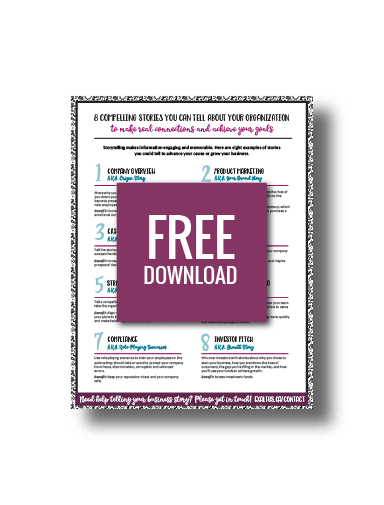
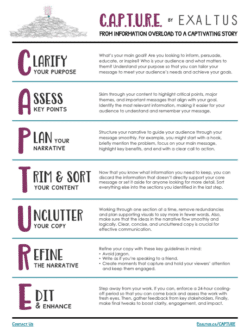
Are you looking to grow your email list? If you already have site visitors and/or social followers, then you’re on the right track. You just need a way to get those visitors and fans to sign up to your email list. It all starts with a “lead magnet” – a.k.a. a free resource that your prospective customers will find valuable enough that they’re willing to part with their email address in order to get their hands on it.
Now, creating a fantastic lead magnet is a great start. But people have to know about your freebie to want to download it. So how do you promote your lead magnet to attract potential email subscribers?
There are certainly an abundance of paid options, such as Google AdWords and Facebook ads. Many large companies dedicate a piece of their ad spend to promoting their freebies because they understand the value of growing their email lists, and of increasing the pool of people they can develop a one-on-one relationship with.
But what if you don’t have the budget to allocate to promoting your lead magnets? Have you done all that work for nothing? Not at all. There’s a ton you can do to promote your lead magnet to your very own visitors and social followers. Best of all, it won’t cost you a dime. In this post, I’ll share some great content marketing tips on how to turn your visitors and followers into email subscribers.
The Big Picture
Before I jump into the promotion plan, I’m assuming that you’ve already created your lead magnet and set up an email service (like MailChimp) to accept new email signups and manage your mailings to those subscribers. If you haven’t created your lead magnet yet, here’s a little inspiration to get you started.
There are six elements you will need in place in order to promote your lead magnet. They are:
- The Popup. Create the popup where visitors actually enter their email address and sign up for your lead magnet.
- The Opt-in page. Design an opt-in page for your lead magnet.
- Your Resource page. Create or update your resources page.
- Other pages. Select other pages on your site to promote your lead magnet on.
- Calls to action. Create calls to action on those pages inviting your visitors to download the lead magnet.
- Social Media. Promote your lead magnet on your social media channels.
Next, I’ll go into each step in a bit more detail.
The Popup
Ah the dreaded, annoying, controversial popup. If everybody hates them, why are they so popular? Because they’re darn effective, that’s why. The good news is that there are many flavours of popups to choose from. If like me, you don’t want to irritate your visitors by jumping into their face as soon as they arrive on your site, you have options. You can trigger a popup to appear:
- After a period of time
- After they have scrolled down your page by a given percentage
- When they’re about to leave your site (a.k.a. exit-intent popups)
- When they’ve clicked on a link or a button
- Embedded within your content or in a sidebar (i.e. without interfering with whatever they are trying to do)
On my site, I use pop-ups in the last three of these ways. There are a ton of tools you can use to deploy popups on your site. My two favourite plugins are Popup Ally and Layered Popups. Popup Ally makes it SO easy to create timed or exit-intent popups. Layered Popups makes it a cinch to design truly beautiful popups. Just take a look at their demos.
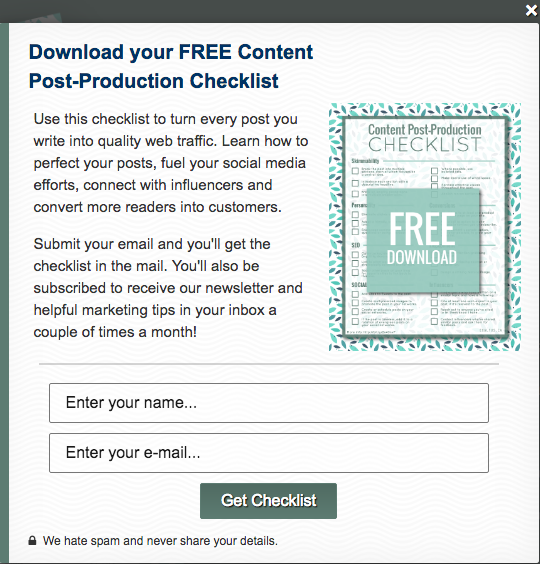
Your popup should include:
- A clear call to action
- A thumbnail image of your lead magnet
- Copy that clearly explains what the reader will get from downloading your lead magnet
- Copy that explains what they can expect after they sign up – e.g. what other communications they can expect to receive from you and at what frequency
The Opt-In Page
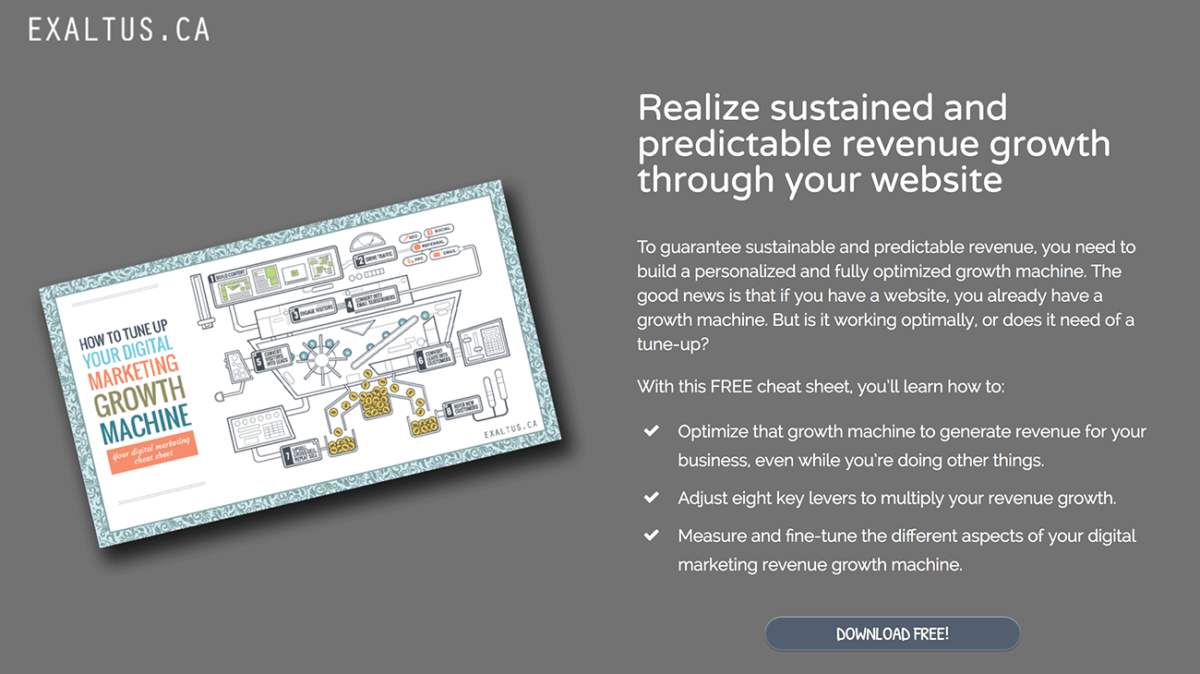
This is a page whose sole purpose is to promote your lead magnet and invite visitors to download it. Keep the page free of distractions. Your copy should include a strong call to action, a description of the main problem your lead magnet solves, and the key takeaways from downloading it.
You should also have a prominent button that visitors click to display the popup. Experiment with different styles of buttons to see which one converts better for you. Here’s the opt-in page I created to promote my digital marketing checklist:
The Resource Page
A Resource page is a page you create to share helpful recommendations, tips and documents for your visitors, prospects, and customers. Like me, you can use your resource page to share:
- Links to helpful websites
- Recommended books and tools
- Your own guides, ebooks, brochures and white papers
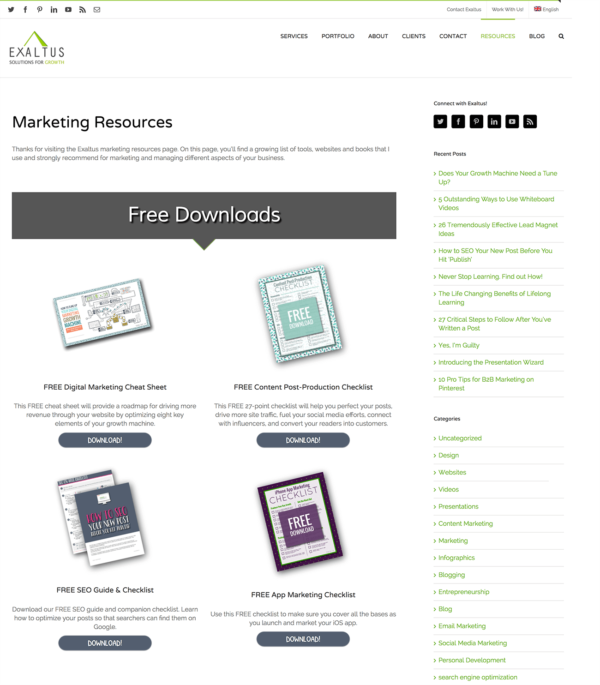
Your resource page is also a great place to promote your lead magnets. It becomes a central page that you can drive traffic through – for example by adding it to your navigation menu – where there are many different resources to entice visitors to leave their email address.
For each lead magnet, write a short blurb that highlights the value of your freebie, as well as a prominent button that triggers your popup.
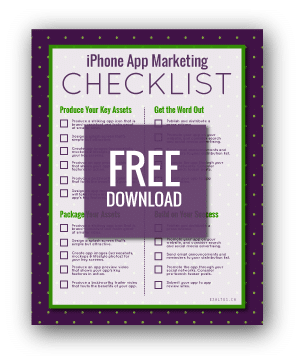
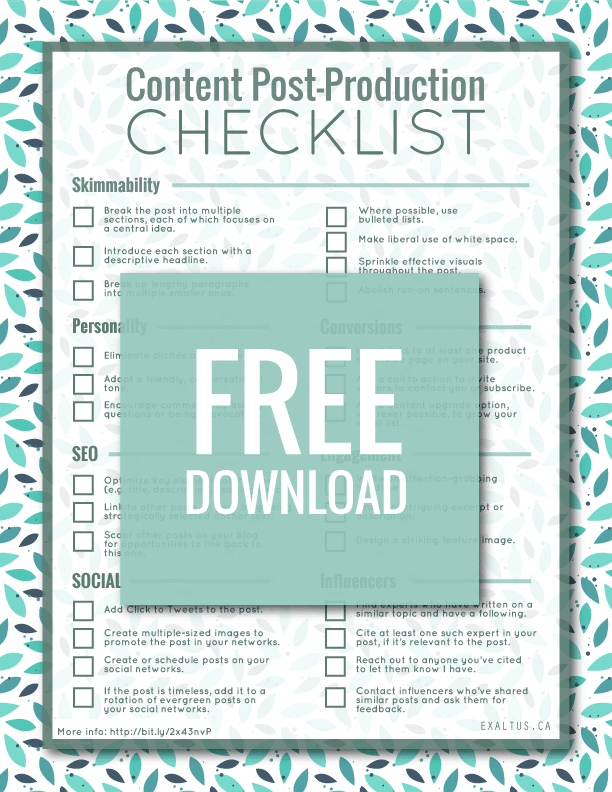
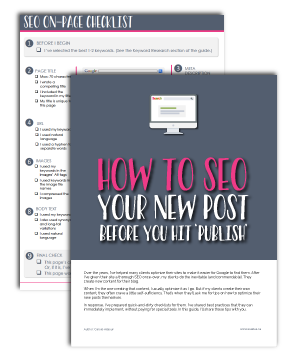
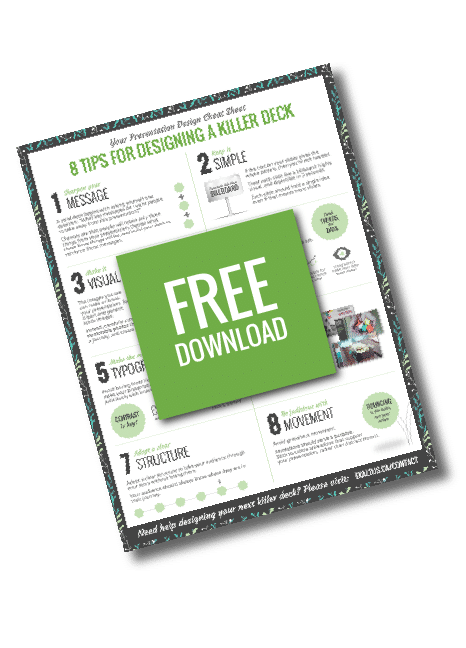
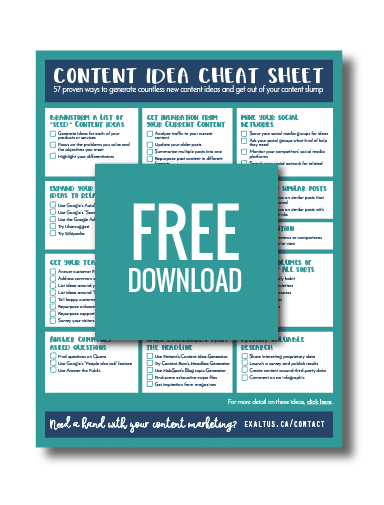
Here is my resource page (note the lead magnets under the heading “Free Downloads”):
Other Pages
Your optin page and Resources page are only two of the pages on your site that you can use to promote your lead magnet.
If you think about it, you’ll probably be able to identify many other pages and posts on your site that could drive downloads of your lead magnet. Consider linking to the popup from:
- Pages and posts that are directly related to your lead magnet or that appeal to the same audience
- The most heavily trafficked pages and posts on your site, including your home page
- High-trust pages, like your About Us page
Calls to Action (CTA)
Once you’ve identified the pages where you want to promote your lead magnet, insert CTAs that your visitors can click on to bring up the popup, and sign up for the lead magnet. There are all sorts of CTAs you can use, from a Hello Bar that stretches across the top of your page, to a Welcome Mat, to name a few. I like to put at least a couple of calls to actions on each page.

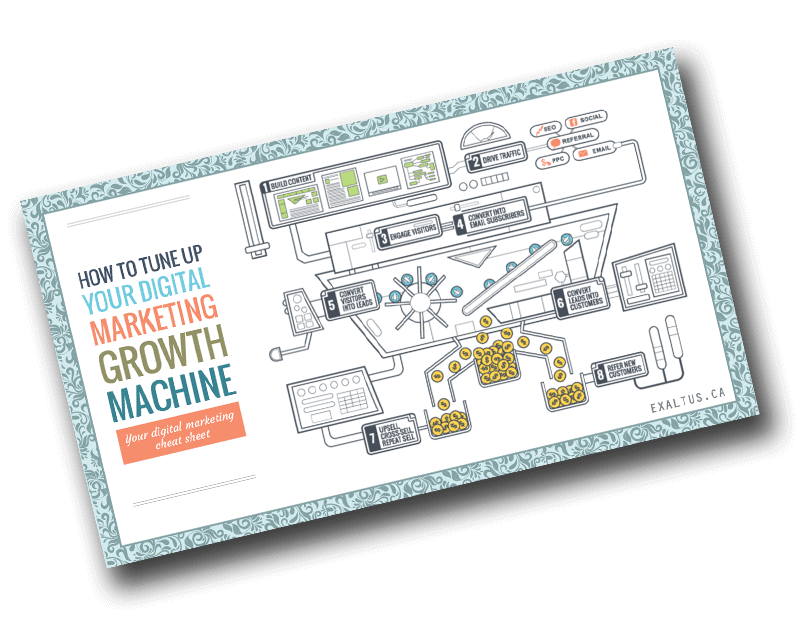
Download our FREE cheat sheet!
Find out how you can turn your website into a personalized and fully optimized growth machine that drives sustainable and predictable revenue.
Experiment with multiple calls to action on each page, including:
- A visual call to action like the one above
- An embedded text link like this one
- A fixed sidebar widget CTA (more on this below)
The Fixed Sidebar CTA
A fixed sidebar appears in the margin and always remains visible, even as you scroll down. You’ll see one, for example, on this page. Implementing the fixed sidebar CTA is a cinch when you have three plugins installed. Here is what I do:
- I embed the popup I created right into my sidebar, using the LayeredPopup widget that comes with my Layered Popup plugin.
- I use the Q2W3 Fixed Widget plugin to make sure my widget remains visible even when the page is scrolled down.
- I control which pages to display my sidebar on, using the Dynamic Widgets plugin.
Whichever call to action you use, make it prominent and highlight the value that your visitors will take away from downloading your lead magnet.
The Social Media Elements
Your social networks are a great place to promote your lead magnets without feeling smarmy. After all, you’re not asking for anything, you’re offering something useful and free!
Every time I create a lead magnet, I:
- Create a social media image in the right dimensions for Facebook, Twitter, Linkedin, and Pinterest.
- I use my Yoast plugin on my opt-in page to upload my social images. That means that when people share the page, their social post is displayed with a beautiful image that I have created.
- I promote my opt-in page across my social networks, including Facebook, Twitter, and Linkedin. And with Smarter Queue, I can place all my lead magnet promo posts in rotation so that they are broadcast every couple of weeks at different times, with no additional effort on my part.
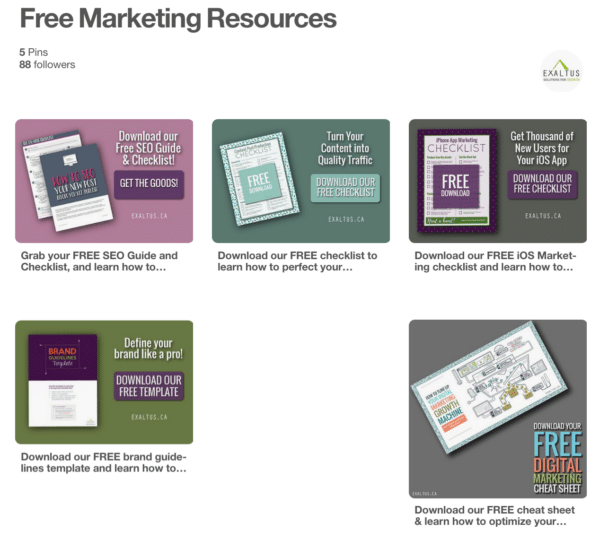
- I create a Pin for my lead magnet and I add it to my Free Marketing Resources board on Pinterest (see below).
Over To You
I hope you’ve picked up a thing or two from reading this post. I’d love to hear about your experiences creating and promoting lead magnets to grow your lead magnets. Have I missed any great tips that have worked for you? Please share in the comments.

